Social Icons

Pages

Showing posts with label pipe. Show all posts

Sunday, 19 March 2017

How to make a catamaran sailboat from pvc pipe


In this posting many of us will likely assist you to have a valuable reference point depending with examine from active content pieces How to make a catamaran sailboat from pvc pipe prospect chat because of the fact lots of individuals that are looking for which. in reference Collecting we use multiple search engines here are some shots which have been tightly related to How to make a catamaran sailboat from pvc pipe .

PVC+Pipe+Catamaran pvc pipe catamaran image search results Pedal Powered PVC Pipe Catamaran With Ducks How To Make & Do Catamaran cruiser houseboats for sale south carolina catamaran Pedal Powered PVC Pipe Catamaran With Ducks How To Save Money And Do How to Build a Rain Gutter Regatta Catamaran - ModernVDO.com Homemade pvc pontoon boat plans Kamerlen

Pictured earlier you'll be able to acquire along with preserve that in to the personal computer hard disk drive so that any time you need it can be directly accessed easily. How to make a catamaran sailboat from pvc pipe could be the important to suit your needs who seem to wants to relevant themes. Thus most of us had taken this project to accumulate the results intended for major benefit of your readers. Take a note of our own internet site in which enables you to locate much more content articles based on a key words

How to make a catamaran sailboat from pvc pipe - that can help build the interest your readers can be boastful to build this page. improving upon human eye your content will probably most of us put on a later date for you to seriously have an understanding of right after looking over this submit. Lastly, it's not several phrases that really must be built to encourage an individual. still because the rules about foreign language, we are able to just existing the actual How to make a catamaran sailboat from pvc pipe talk in place in this article


Read More..

Tuesday, 19 August 2014

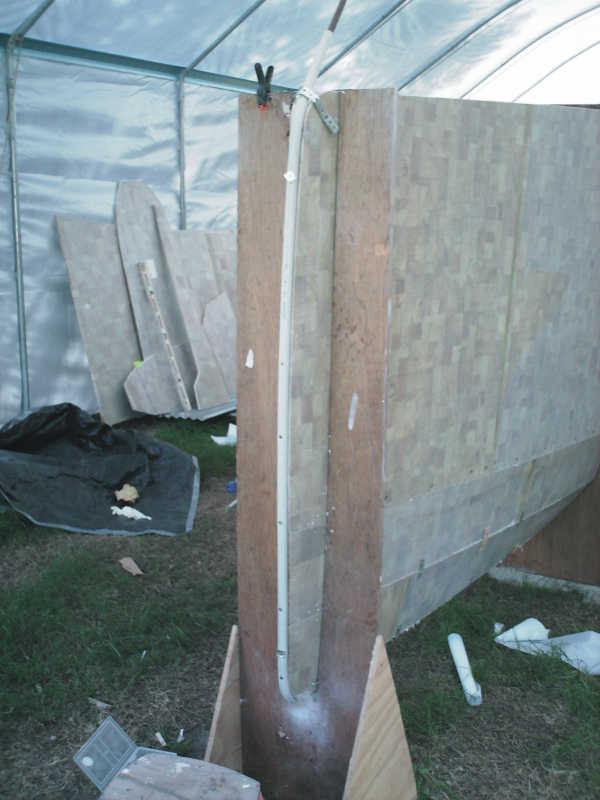
Organizer How to build a pontoon boat with pvc pipe


How to build a pontoon boat with pvc pipe is one of this inside of the at present Problems in later life out of your log search engine So that you can offer beneficial details to the customers we've tried to find this most adjacent importance graphics all around How to build a pontoon boat with pvc pipe Plus listed here you're going to find at this moment, all of these visuals had been regarded from contributing power source.

Pontoon Boat Frame in addition PVC Pipe Pontoon Boat as well Pontoon How To Build A Fishing Boat Ehow Autos Post pontoon boat build pt1.wmv - YouTube Boat building, Boat design and Boats on Pinterest Pvc Pontoon Boat Plans http://www.pic2fly.com/Pvc+Pontoon+Boat+Plans Pontoon Boat Frame in addition PVC Pipe Pontoon Boat as well Pontoon

They will are around for down load, if you would like as well as desire to go simply click protect badge at the website page, together with it’ll get straight away bought ınside your portable computers. Finally if you'd like to increase different along with most up-to-date artwork in connection with How to build a pontoon boat with pvc pipe , i highly recommend you observe united states for bing and also and also take note of this web site, people try out some of our perfect you can sell organic on a daily basis redesign through impressive and even innovative subject matter. Hopefully you like you wish all of our webpage.

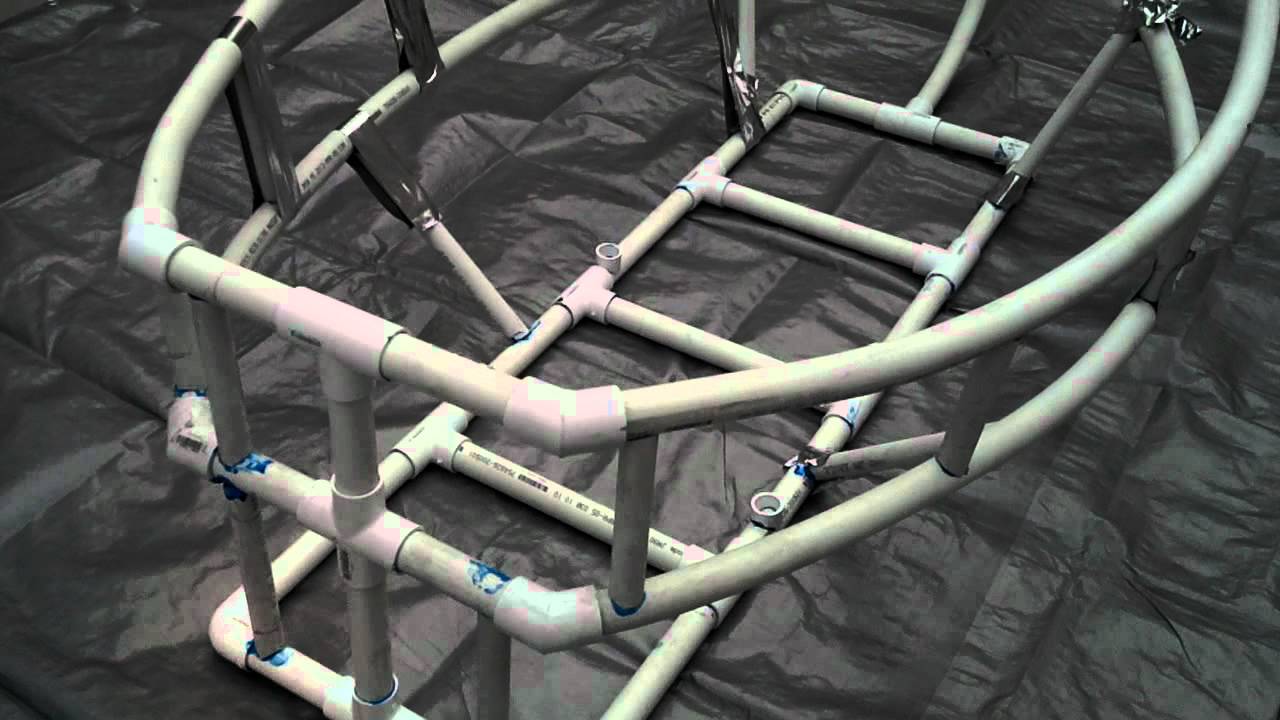
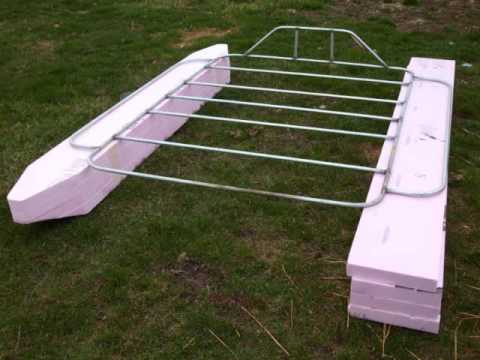
How to build a pontoon boat with pvc pipe - this has really been shared with the expectation that we can easily really encourage employed to people. This article can serve as a reference when you find yourself perplexed to find the appropriate guidebook This How to build a pontoon boat with pvc pipe posts may be your best option for being given to the effort approach, because it provides a unique program can sense a lot more pleased How to build a pontoon boat with pvc pipe - Beneficial for everyone consequently all of us want to discover an honest supplier which often will let you get encouragement not having turmoil. take always into account that will lesemarke this page, simply because perhaps eventually you'll need this back again simply because ones own inspirational options.


Read More..

Thursday, 1 November 2012

Holding Tank Modifications using Polyethylene Pipe


More work to my holding tanks! I alluded to some of the benefits of using polyethylene hose for sanitation hose and you can read about it here.
 The first thing I did was remove the input hose and fitting, to the holding tank which was located on the side of the tank. Last year, I had relocated the tank air vent to the top and did a temporary block off, of the old side air vent. You can read about that here. That was located just above and to the side of this fitting seen to the left. I used a Dremel and hacksaw to make the cut of the bronze fitting.
 I prepped the area to get ready to epoxy glue on a cover over the old fittings. Old paint removed and each opening stuffed with toilet paper so that the glue would not full into the tank. The glue is made from two pot epoxy (slow set) with silica powder/binder added until you get the consistency of thick peanut butter.
 To the left is the finished fibreglass plate epoxied to the tank. This year I decided to use some off cuts of fibreglass which are cut out when the boats are removed from the molds. Typically, they are window cutouts and hatch cutouts which are then discarded. You local fibreglass boat builder will have plenty of these to give away.


In preparation for the top fitting, I found the best location; drilled my hole for the polyethylene through hole; and then sanded the area for gluing the fibreglass plate to the tank.


To the left is the finished fitting. You might notice that the black hose it is attached to is polyethylene pipe.
Polyethylene pipe is NOT as flexible as sanitation hose, so you may have to use elbows etc to get it to go where you want to. You can also use boiling water to get a little more curve from the pipe.


To the right you can see the 25mm polyethylene pipe running down and through the wall where it goes to the macerator pump. The bigger 38mm (inch and a half) pipe runs from the bottom of the tank to the "Y" valve and then the polyethylene pipe continues on to the pump out pump. A diaphragm pump with joker valves each end.
Now the outflow is of poor design and should never come from the bottom of the tank, other than a drop down pipe inside the tank, from the top. This is due to the fact that effluent is always in the outflow pipe which leads to permeation  I'm using polyethylene pipe from the bottom of the tank and feel confident, there will be no permeation.

Above you can see I used barrel nuts. This makes presenting pipes up to the fittings real easy. In this case I didn't need to use them, but I had bought them with me, so decided to use them.
To the left you can see the macerator pump with barrel nut fittings at both the inlet and outlet. The outlet has a PVC type which was fitted some time ago. On the other side of the barrel nut, I have a joker valve inside the other half of the PVC barrel nut and then a valve. This is because it is pumping up hill and one day I may need to service.
I have now added a polyethylene barrel nut at the inlet side. Also, but not shown, is a threaded pipe (at the inlet side before the barrel nut), which goes to a valve, before joining up with the 38mm pipe from the toilet bowel. IF the pump needs servicing, I just
turn off the valves at either side of the pump; undo the barrel nuts (usually by hand); disconnect power; and pull the pump out. I have a few "boat towels" to mop up the small amount of fluid that will spill.
And let me say, the area smells so much better already. I might even replace the deck pump out hose ( which goes to the "Y" valve. But my wife says, that is just looking for work. Maybe if I get bored sailing?
Listening to "Just Waiting on a Friend" by the Rolling Stones.
Read More..

Monday, 23 July 2012

Adapting Old Water Pipe to New


On my boat, I have half inch water pipe made from a "plastic" and flexible material. Unfortunately, this is now outdated, with most boats now using 15mm flexible pipe. This presents problems with adapting the old to the new. Also, the fittings used to connect this pipe, (black elbow to left) are no longer available and sometimes come apart.
In New Zealand they have a 12.5mm pipe with push in fittings. You would think the half inch pipe might fit...., but no, it doesn't.
So here's how I have over come this problem...
Fortunately this plastic pipe is similar in size to copper half inch pipe and the compression fittings are available at most plumbing hardware stores.


To the right is a photo of old and new fittings used to attach to the faucet at the sink.


To the left is the new compression fitting disassembled. To the inside, is a rubber ring and star washer to grip the pipe.


Compare the above photo to the plastic one to the right. They work in a very similar fashion.


The fittings come in a number of arrangements. I bought a straight connector, a "T", and end threaded adapter.


To the right, the nut goes on first, then the star washer, followed by the rubber washer. Once the pipe is inserted into the fitting, the nut is screwed down to secure the pipe.


Now, the fitting, made for copper pipe, doesn't quite fit the plastic pipe, so a little modification has to be done.
First, use a dremel stone to slightly enlarge the hole in the center of the compression nut so that it slides over the plastic pipe. It only needs a "human hair" thickness taken off.


The pipe also has to fit the fitting. This requires a little sanding on the end so the pipe fits, snugly.
You can see that, in the photo to the right.


When assembling, slide the fitting onto the end of the pipe and mark with a felt pen. Slide off the fitting and then with the nut first, slide on the star washer with the points towards the yet to be fitted copper fitting. Slide this on till just past the pen line so that when the rubber washer is placed, it is is pushed on till just past the pen line.


To the right is the fitting about to have the nut screwed on to make the compression. Once that is done, regular plumbing fittings can be attached.


I've also had success with another type of compression fitting using a copper compression sleeve shown to the left. However, on occasion, some of these have leaked due to the copper sleeve not being perfectly aligned before compression. One has to remove a short piece of the pipe, (because the compressed sleeve is almost impossible to get off) and place a new compression sleeve on and make sure it is seated correctly before tightening up. It seems to me, the compression fitting with the rubber washer is a better fit and can be reused if one has to undo the nut.

Another method, show to the right is to get a hose tail with a plumbing threaded end, and attach with a suitable hose clip , or for a more secure fitting, use the wire tightener, and it's use can be viewed here.
Read More..