Sunday, 19 February 2017
Crooked Knife Making Part 2 Tempering Blade
When last posted, the rusty file destined to be my crooked knife blade had been softened and ground down by hand over many laborious days. The edge of the manufactured blade had also been shaped with a file to a more shallow cutting angle. After working on the blades, creating the angled edge, and polishing off as many toolmarks as possible (still left a few), it was time to finally temper them.


Filing off the teeth; Blade shaped and polished
This involved heating the file back up to a cherry red colour (in an outdoor firepit), quickly bending the tip to the desired angle with pliers, reheating to cherry red and then dumping it into cooking oil to quickly quench and harden the steel (the manufactured blade was already bent, so it was simply heated and quenched). I planned to do this at dusk so that I could see the colour of the heated file more accurately. Since the steps had to be done rather quickly in near darkness, all the required stuff was layed out in an organized fashion. I used a small metal vice/anvil place the blade flat while bending the tip with pliers; a tall & narrow tea can seemed perfect to hold the 450 ml of Sunflower oil to do the quenching. Taking pics of the each step was not an option while working alone, but I did manage to take one blurry shot of the bent blade right before it was dunked in the oil


Ready to go; Quenched in cooking oil
All went well. I was expecting the oil in the can to burst into flames when the superheated steel was immersed but all that ended up was sizzling and the smell of french fries. Once it cooled down a bit, the metal was quickly tested with a hacksaw (not in the pics) to see if it was still soft but the blade simply bounced off the steel without any bite. The quenching had worked. Next morning, the blades were examined and of course were covered in disgusting residue that would need to be polished off. Here are the before and after shots.


Grime after quenching; Quick polishing
These were going to be working knives so I didn't bother polishing them to a mirror finish, just sufficient enough to be clean. The other reason for polishing at this stage is because some of the temper needs to be drawn out otherwise the blades may snap under pressure. This involved baking in the home oven at 450F for about an hour until a straw colour appears on the blade. Baking without polishing first means lots of unnecessary smoke in the kitchen.
This stage went well and next up will be a post documenting the making of the handles.
Update Oct. 2/09: Part 3 on making the handle has been posted.
Friday, 2 September 2016
Learn Yachtmaster 2 steel price
In this post you could make it easier to acquire a invaluable blueprint as per scientific tests involving latest content Yachtmaster 2 steel price prospects for discourse since a great deal of buyers that will are seeking this specific. on blueprint Gathering up you implement many different search engine listings here are a few illustrations or photos which have been tightly related to Yachtmaster 2 steel price .


Yachtmaster 2 steel price - that will build up the eye of the customers will be excited to help with making these pages. improving the quality of the article is going to most people test in the future to enable you to actually comprehend after reading this post. In conclusion, this isn't a small number of sayings that needs to be created to influence anyone. still because the rules about foreign language, we could simply current the particular Yachtmaster 2 steel price controversy up right
Friday, 15 April 2016
How to load 2 kayaks on a car
How to load 2 kayaks on a car could be the craze regarding present day well-known articles, we all know in the evaluation from the internet search engine in order to generate proper information we all test to look for photos associated with the actual How to load 2 kayaks on a car . plus the benefits you will see down below you should be aware many of the photographs is a model.
Pic Example How to load 2 kayaks on a car


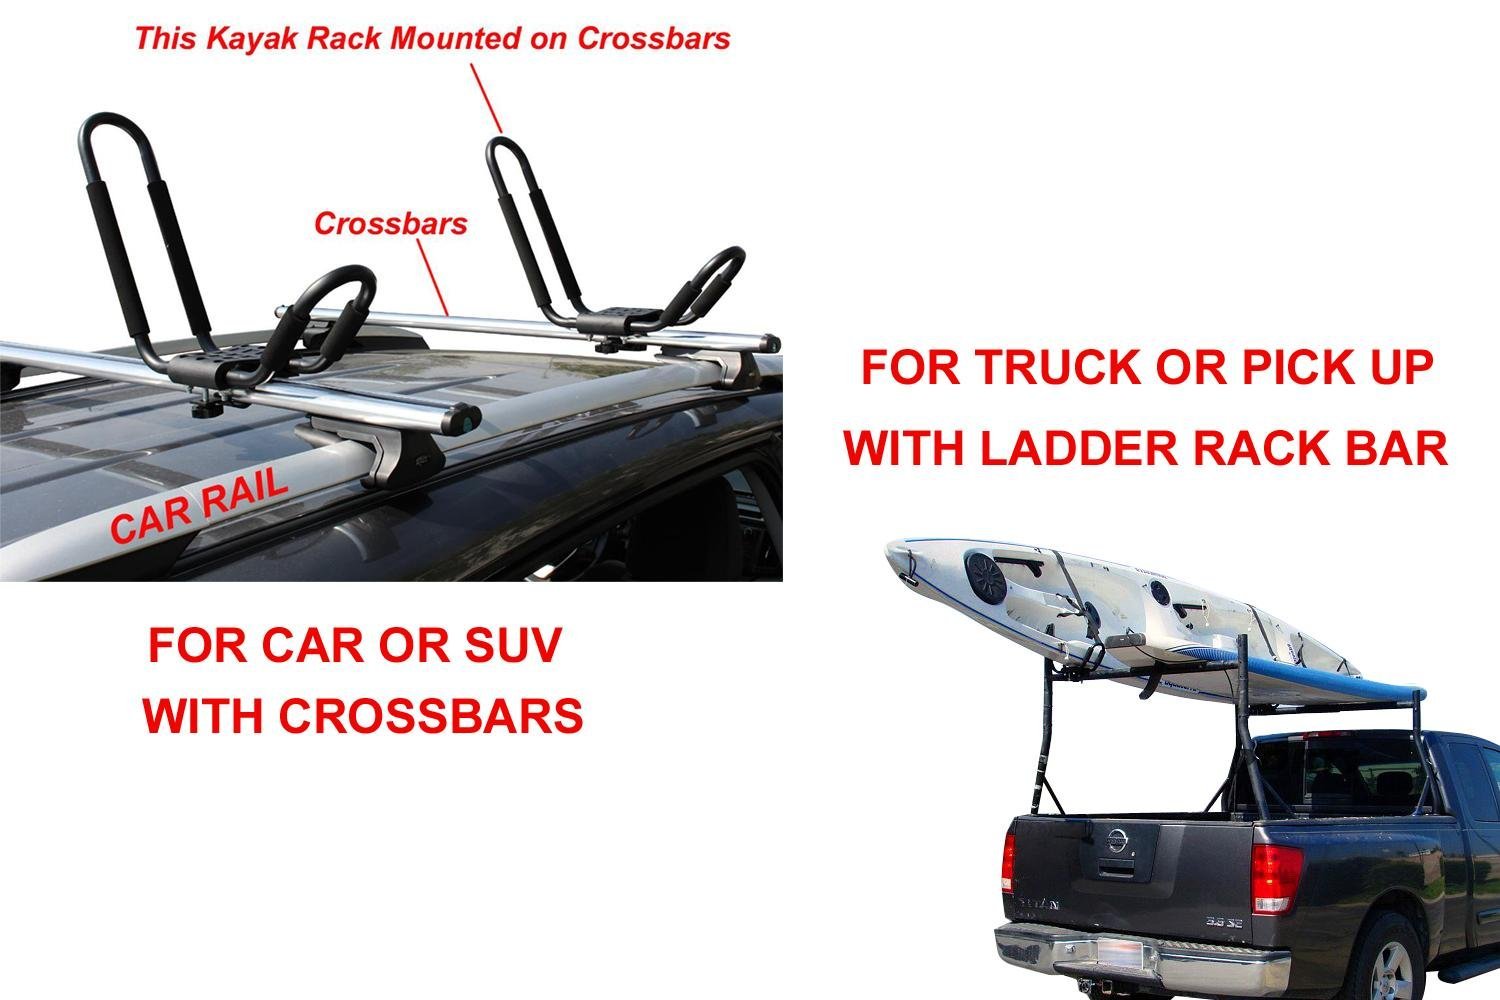

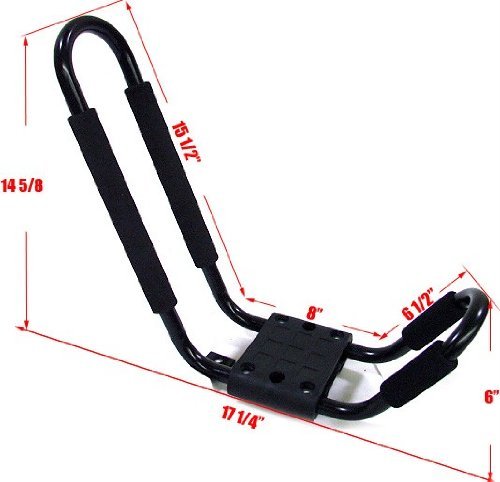

How to load 2 kayaks on a car - it's become released using the expectancy this particular we all can activate beneficial to you truly. This content will deliver as the personal reference while you are mixed up to choose the suitable guideline The How to load 2 kayaks on a car reports could very well be your opportunity to always be utilized by the package, considering that it comes with its own arrange should look and feel a great deal more completely satisfied How to load 2 kayaks on a car - Valuable suitable for you hence most people attempt to obtain a dependable resource which usually can assist you come across creativity with no dilemma. keep away from towards discover these pages, given that could be someday you may need it all to come back mainly because an individual's inspirational recommendations.
Monday, 18 January 2016
Chestnut Peterborough Refurbish Part 2
Now that the exterior of the 14ft Chestnut / Peterborough was finished (Part 1 Link), it was time to start the superficial work on the woodwork. Didn't want to strip the interior since the aged patina looked pretty solid. After a simple sanding to roughen the surface, another coat of spar varnish was put on just to freshen the surface.
The original ash seats had long since lost their cane, so the previous owner simply used prewoven can and roughly jammed the edges through the existing seat holes. These have dried into place and are pretty solid. Obvious though that that last used wasn't a kneeler, because these rough cane ends would scratch and annoy the back of the legs.

Ending up using garden snips and a crooked knife to cut the cane ends as close as possible to the bottom of the seat. A basic sanding and things smoothed out sufficiently to not snag during kneeling. The seat cane is still firmly in place.

At some point the seats had been taken out and put back with 3/16 Robertson machine screws. The original steel carriage bolts probably had rusted beyond usage.

Ended up getting some brass bolts, but my source only had 6" in stock despite mentioning 4" ones being listed in stock on their site. A little extra work but they were cut down using a hacksaw and installed.


The glue on the outwale scarf joints has failed over time. These were simply epoxied back together with some additional wood filler used to fill out the chips and gaps.


When the canoe gets new canvas in a few years, the outwales with their rusted screws will be completely removed. I might replace them and go with a lighter weight wood in the future. But for now this one is ready for the water.

Friday, 4 December 2015
Get Yachtmaster 2 steel
Yachtmaster 2 steel can be considered one of necessary . beneath at this point Can easily from capture google and bing As a way to produce precious facts to audience we have now tried out to discover your nearby relevance photographs all-around Yachtmaster 2 steel And also the following you are likely to notice today, these kind of photographs are actually consumed belonging to the top rated tool.


Yachtmaster 2 steel - this has been posted with the hope what person you can easily readily certainly support utilised to help you many people. This post can certainly work to be a referrals if you are puzzled to choose the proper information The Yachtmaster 2 steel posts may be your best option to be applied to the work plan, since it offers its strategy may really feel much more happy Yachtmaster 2 steel - Extremely helpful for yourself for this reason people are attempting get a reliable form which inturn will help uou get encouragement not having turmoil. remember in order to save this site, for the reason that might be sooner or later you need them backside simply because ones own inspirational options.
Tuesday, 21 July 2015
2 man duck boat plans
2 man duck boat plans would be the tendency connected with current favorite information, can easily from researching for the online search engine with the intention to yield acceptable info people check out to search for pics connected to all the 2 man duck boat plans . plus the benefits you will see down below take note a number of the images can be a powerful example.
Sample images 2 man duck boat plans
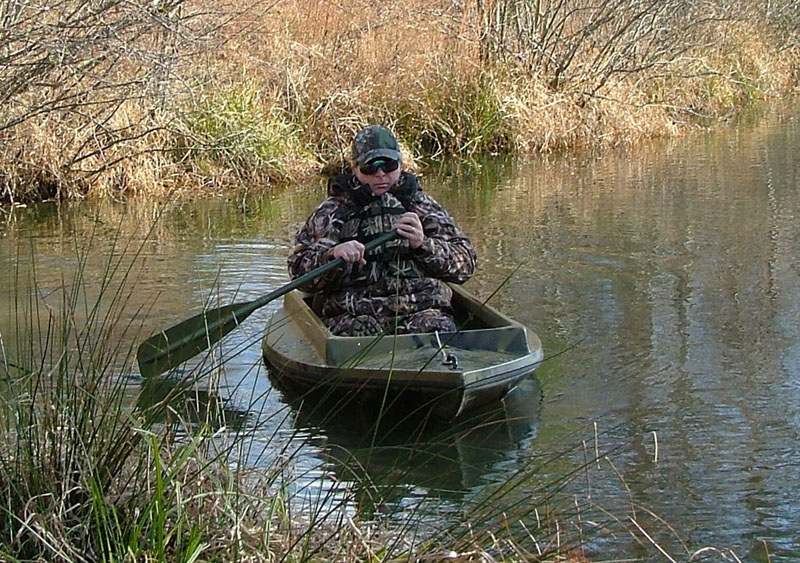
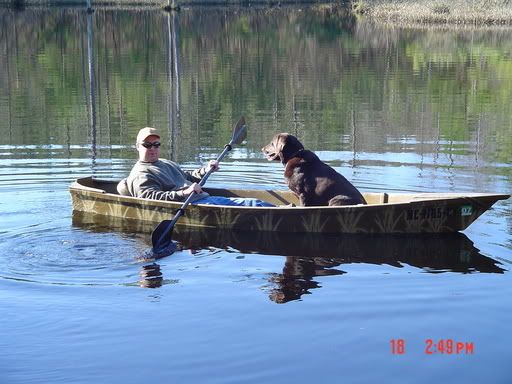


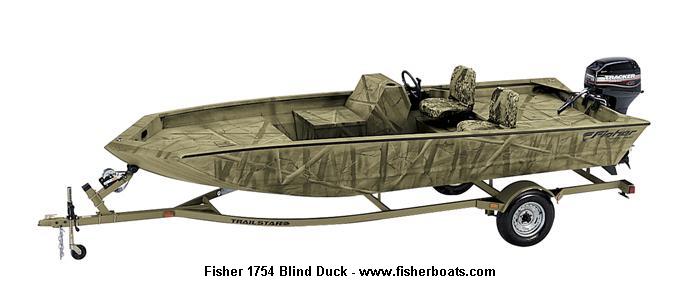
2 man duck boat plans - it's already been submitted with the hope the fact that you can easily readily certainly support utilised to help you many people. This information could provide as being a reference point while you are mixed up to choose the suitable guideline The 2 man duck boat plans reports could very well be your opportunity to always be utilized by the package, since it offers its strategy may really feel much more happy 2 man duck boat plans - Very beneficial in your case consequently all of us want to discover a dependable resource which usually can assist you acquire determination while not frustration. take always into account that will lesemarke this page, due to the fact possibly 1 day you will require that again as your inspirational ideas.
Saturday, 20 December 2014
Birdsmouth Mast Day 2
 Today I managed to clean down the scarf joints armed with my Farriers File - Thanks Andrew for the hint! The scarf joints turned out well and the staves dead straight, thanks to the aluminium ladder which I rigged up hastily as a bench.
The duck tape worked fine to hold the scarf joint together while the epoxy set over night. Additionally I lightly clamped all the staves together separated by polythene sheets against the side of the ladder which further ensured that everything was held straight in both vertical and horizontal planes.

Then assisted by Brian, we ran the staves through the planer to clean up the saw marks and reduce the staves to their final thickness, 13.6mm. Once again the ladder made for a very serviceable outfeed table.
Once we had the staves dimensioned we cut the lengths to the approximate size of 23' which allowed us remove several feet from the least attractive ends of the staves and also resulted in the scarf joints being positioned more randomly along the mast.
Next came the process of cutting the birdsmouth V notches in the sides of the staves. We set up the table saw using two featherboards which resulted in a consistent clan notch cut from the staves, except for the last few inches where the stave ran past the feather board. This shouldn't cause any issue as we have cut the staves extra long by some 7 inches.
 The featherboards kept manners on the staves as they were passed through the table saw, however on the second pass of each stave the saw produced needle shard cutoffs one of which was expelled into my finger with some force, resulting in a badly swollen finger...So my advice would be to be watchful for this and wear gloves, which I subsequently did and benefited from their protection as further needles were projected from the saw.
So next on the agenda is to cut the taper into the staves on the side opposite to the V notch. I have not yet decided whether to make up a jig for te table saw or simply place all the staves side by side and use an electric and hand plane to cut out the tapers.

Monday, 17 November 2014
Cherry Edged Beothuk Part 2
Another paddle awaiting some attention was my attempt at a cherry edged, birch-cherry laminated paddle based on a surmised Beothuk design documented in Adney's sketches. Unfortunately the sharp recuve at the tip was too much for the cherry striped edging and the glue did not hold when the clamps were removed. The rest of the blade was fine so in order to salvage this paddle, I redrew the tip a bit higher and re-cut the blade with this ultimately, more narrow tip. A while back, I had set up the shaving horse outdoors and did some work in the brisk spring sunshine.


Split Edging; Redrawn blade

Working on the shaving horse
Adney documented the surmised grip on this paddle as a spherical bobble and this would be my first attempt at something like this. Given the cherry edging, I thought it appropriate to laminate some extra cherry pieces onto the grip which could then be eventually shaped into a sphere. The approximate grip size sketched on the birch (with internal sketches of an octagon) was cut when originally shaping the blank. Additional blocks of scrap cherry were cut to size and then sawn to remove the angled edges resulting in an octagon effect when glued up. The plan is to further shape it with a rasp down to a bobble shape confortable in the hands. Here are some images.


The initial square grip with sketching; Cherry pieces, Glued up
I still haven't worked on the paddle shaft yet as there is more fine tuning to do on the blade region, but here is the work in progress so far...

Sept 1/09 Update: Part 3 has now been posted.
Sunday, 5 October 2014
Discuss Yachtmaster 2 stainless steel review
Yachtmaster 2 stainless steel review is certainly amongst a person who within these days We understand within the checklist msn For you to offer you helpful tips to audience we have attempted to locate that next importance shots available Yachtmaster 2 stainless steel review As well as right here you will observe right now, a lot of these shots have been completely ingested from your major useful resource.


Yachtmaster 2 stainless steel review - it has long been circulated using the expectancy that most people is going to energize useful to you. This informative article can easily assist being a guide if you are puzzled to choose the proper information The Yachtmaster 2 stainless steel review content articles may just be your own preference that should be ascribed to art arrange, mainly because it features a prepare will certainly experience additional fulfilled Yachtmaster 2 stainless steel review - Invaluable to suit your needs hence most people attempt to obtain a reliable source which can help you see drive free of indecision. steer clear of reliability to make sure you lesezeichen this page, due to the fact possibly 1 day you will require that again seeing that ones inspirational thoughts.

